Sunday, September 25, 2011

Icelandic Breakfast Part 2

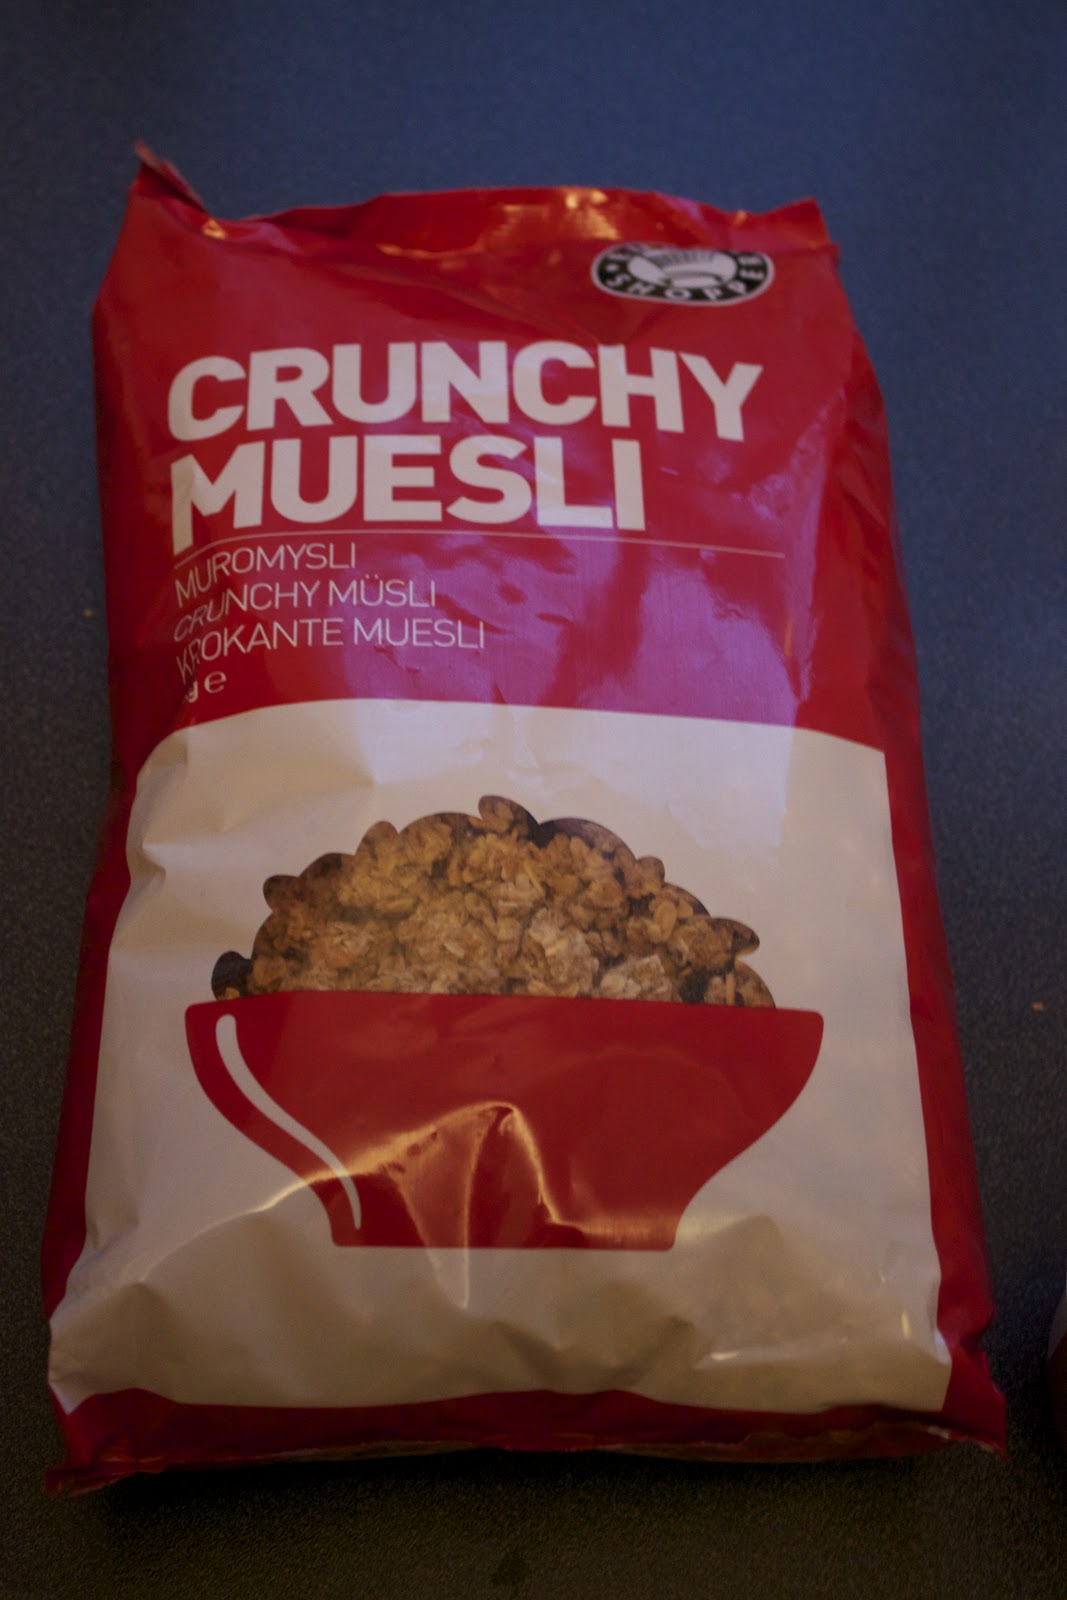
No fancy photo editing of crazy prepared dishes, this is what a normal breakfast was all about in Iceland. Skyr. A fantastic icelandic yogurt that is super healthy, fat free, loaded with protein, and most surprisingly given the aforementioned qualities... tastes fantastic. I ate a few of these every day in Iceland. Sometimes with some tasty muesli thrown on top for a little bit of a crunch. Skyr also comes as an equally delicious shake.  


It may be a little hard to see exactly what is going on here, but this is slice of smoked salmon and egg sandwich from the Sandholt bakery. The bread is loaded with seeds and tastes great. Sadly, this was not too filling and very expensive. A one time affair.


The coffee on the other hand is to die for. Super strong, almost frothy on its own, and a perfect excuse to stop by the bakery at any time of the day.


Catherine's favorite treat. Chocolate and vanilla icing over a flaky croissant like pastry with an eggy sweet custard in the middle.


Finally... Icelandic eggs are boss. Quite a few of them were consumed. We stored them in this very Scandinavian egg rack.


Monday, September 19, 2011

Icelandic Breakfast Part 1

This blog has been slightly dead for a number of months. That said, there isn't a better time to resurrect it than right at this very moment. Why is that? Because I'm on vacation and there is a ton of awesome (pardon me for speaking in the 3rd person) Food for Nick to Eat.

The first thing to show is the first meal after setting foot onto Icelandic soil. A little bit of background is needed to preface this. We arrived in Iceland at about 6:30 AM. We got to our hotel in Reykjavic at 7:45 AM. We could not check in until 2:00 PM. The town of Reykjavic stayed up the previous night drinking until about 6:00 AM. NOTHING HAPPENS UNTIL NOON.

The first thing to do was to kill time and grab some breakfast at this cool little hole in the wall breakfast basement named Grai Kotturinn (Grey Kitten). The offerings are simple, average price by Icelandic standards (pricy by American), and they use delicious Icelandic ingredients that make the simple dishes shine.

So, the picture below is a simple Croque Madame with a side of bacon and a simple green salad. The bread was thick, the ham was salty enough to strike through the other flavors, the cheese sharp, and the egg gooey and and rich. A simple dish superbly executed. 


The food isn't quite the same without a little bit of the atmosphere, so take a look at the interesting artwork.


Nation, I like your moustache, your trousers, and your manners.

Tuesday, July 12, 2011

The Washington Red Hook

One evening I was at a bar. The kind of bar where you tell the bartender to make you a drink and they create something that you've never tasted before. Upon a request for a nice whiskey drink that wasn't too sweet, the bartender came back with a creation of complex flavor that was not easy to pick apart. The bar was Tavern Law in Seattle - the drink was a Red Hook.

Luckily, the Serious Eats folks were around to provide a recipe for this tasty treat.

I wanted to make this drink my own though. Perhaps even make it that of my own state. Several weeks and a fair amount of money later, I was sipping on a Washington Red Hook.

In order to make the drink Washingtonian, I had to change up a couple of the ingredients. Seeing as the drink only has 3... I changed one and added a very complimentary garnish.

First: A trip Washington's first craft distillery since prohibition, Dryfly, was an excellent way to get some of their new, first in the country, 100% wheat whiskey. Their bourbon would have been a little better suited for the drink, but thirsty consumers can't get their hands on it until August 6th, so I was just fine with what I got.

Second: The garnish. Maraschino cherries are delicious little sugar balls, but what if I actually made them taste like something? And made them out of extremely flavorful grown in Washington Rainier cherries? Winner.

Maraschino Rainier Cherries
taken from the From Away blog


1 cup Luxardo Maraschino Liquor
1/4 cup sugar
32 pitted Rainier Cherries

1: Pit the cherries. I personally used a cherry pitter that I picked up at William Sonoma. Given the store, it was surprisingly inexpensive.
2. Coat the cherries in the sugar. Toss them around to make sure that it's evenly applied throughout. Let them sit for 24 hours.
3. Heat up the Maraschino liquor, but stop it before it simmers. Pour into the jar and shake until all the sugar is dissolved. Cover and place in the refrigerator.
4.  Let steep for 1 week. They will lose a little of their beautiful color and the taste will be completely transformed.

All good things had come together. It was time.

Washington Red Hook


2 oz DryFly Whiskey
1/2 oz Punt E Mes
1/4 oz Maraschino Liquor
Garnish with Cherries

It can be served up or over ice.

Thursday, June 30, 2011

Mediterranean Quinoa Salad

I'm healthy now, I eat quinoa. 

This is very similar to the phrase I repeated to myself one time trying to convince myself that did indeed like yogurt. 

Yogurt is still a little strange and occasionally makes me gag... but quinoa is extremely delicious AND healthy. Who would have thought? 

Since buying a monster bag of quinoa at Costco I have hardly been adventurous though. This is due to the simple fact that the first recipe I made was incredible. A mediterranean quinoa salad - delicious olives, cucumber, lowfat feta, and a little blast of olive oil and lemon to give the whole thing flavor and a smooth texture. Add the fact that it's super healthy and I'm sold. 

I pulled the recipe from here.

Recipe:

1 cup dry quinoa
2 cups water
2 cups sliced (small) tomatoes - I've used Campari, Grape, and the tasty yellow small ones
1 cup sliced kalamata olives
1 cucumber quartered and sliced
3/4 cup crumbled (lowfat, nonfat, or regular)
1 1/2 tbsp olive oil
1/2 lemon, juice of
1 tsp oregano
salt and pepper to taste

Directions:

Cook the quinoa! It's just like rice. 1 cup quinoa, 2 cups water, bring to a boil, minimize the heat, let it simmer until the water is evaporated, set aside for 5 minutes, fluff with a fork.

Chop all the veggies and add them to the quinoa with the cheese and seasonings. 

Drizzle oil and lemon juice over the top - mix it up and serve.

Monday, June 27, 2011

Semolina and Gruyere Quenelles with Tomato Sauce

Learning about new food is always exciting. Before this I could not have told you what a quenelle was, and if asked, I would have told you incorrectly what semolina was.

Quenelle: Oval shaped dumpling traditionally made of pureed meat or fish.
Semolina: A coarsely ground flour from durum wheat (extra protein, extra gluten)

Now, this was not the easiest thing to make. There's a sauce to make, the dough needs to be made and then chilled, and the formed logs have to be boiled before they're baked. That said, it was real tasty.

Recipe from Vegetarian Times - March 2011 from Chef Raymond Blanc

Quenelles:
1 1/2 cup whole milk
4 tbsp butter
3/4 cup semolina flour
1/4 cup all purpose flour
1 large egg
1 large egg yolk
5 oz finely grated gruyere cheese + more for sprinkling

Bring milk and butter to a simmer in a saucepan over medium heat.
Stir in flours and cook 2-3 minutes. Be ready with a whisk to avoid chunks.
Take it off the heat and add the egg, egg yolk, and cheese.
Spread the mixture on a baking sheet, cover it, cool it for 2 hours.

In those 2 hours...

Tomato Sauce
3 tbsp olive oil
1 white onion chopped
2 cloves garlic, minced
4 medium tomatoes, seeded and chopped
1/3 cup tomato puree
2 sprigs thyme

Heat the oil in a pan on medium heat.
Add garlic and onion. Saute until softened.
Add everything else. Cook 7 to 8 minutes.
Add 2 cups water and salt and pepper if necessary. Cook 5 minutes.
Hit the food processor and puree this stuff.

Now, time to deal with the cooled quenelles.

Heat the oven to 350.
Bring 2 quarts of water to a simmer.
Split the dough into 8 equal parts and roll them into 4 inch logs on a well floured surface. Add some muscle to make sure they stick together
Slide the cheesy goodness logs into the simmering water. They're going to sink.
It should take about 8 minutes until they rise - use a slotted spoon to grab them and put them on a paper towel lined plate.

Finally... the mix!

8 inch square pan. Add 4 cups of the tomato sauce.
Add the quenelles in whatever way makes the most sense.
Sprinkle some extra cheese over the top.
Bake 20 minutes. Serve.

Friday, June 17, 2011

Burgers Continue... The Reuben Burger

I actually made this a while ago, but haven't gotten around to posting it... or anything else lately. so here it goes.

To me, nothing could be easier to decide to make after I thought of the idea.

Corned beef = Amazing
Reuben sandwiches = Amazing
Burgers = Heroic

Answer: Reuben burger.

I didn't feel like taking the time to corn my own beef, so I simply stopped by safeway and got a big slab of corned brisket. I took it home and washed all the seasonings off, chopped it into 1/2 inch cubes, mostly froze them, grinded them, and then formed 1/2 lb patties. This whole process, and the way I cooked it, was pretty much the same as the pub burger. There are a certain changes that had to be made though.

- Do not salt the meat before cooking, the meat is certainly salty enough
- I topped the burger with sourkraut and then a nice swiss cheese.
- I served it in between two slice of rye bread and added a delicious russian dressing - recipe here.

Ingredients:
1/4 cup mayo
1/4 cup sour cream
1/4 cup ketchup (gross but necessary)
1 tbsp Worcestershire sauce
2 tbsp grated onion
1 tbsp horse radish
1/2 lemon, juice
1/4 tsp chili sauce
1/4 tsp paprika
salt and pepper to taste

Mix it up!

In the end, I would say that the burger was better than a good reuben, but not nearly as good as the best. Perhaps it's a way of standardizing. One thing is for certain though, it was tender, juicy, and absolutely loaded with flavor. Well... I suppose that's 3 things.


Saturday, June 4, 2011

Fat Kid Day in NYC

I recently spent two days in New York City. The two days were actually one full day and two half days. The full day I spent most of my time eating. That and walking to the next place that I would be eating. Here is a rundown of some of the awesome treats I had. The counting of calories is not allowed.

Started the day off with a quality New York bagel from Nussbum and Wu. They also had Stumptown Coffee, a nice little touch.
Got myself together and headed off. I needed a pickle. The spot to go was The Pickle Guys. You stroll into a small downstairs room filled with barrels of pickles and make your selection. Doesn't seem too fancy until you finally bite into them. I tried some of a full sour, half sour, and a spicy sour. Before I left I asked the helpful picklesmith what the one other thing I needed to try was. He handed me a piece of pickled pineapple. Holy shit was he right, seriously devine. Sweet, tangy, just perfect. Once outside I gave all the others a shot. The spicy sour was the champion in my book, with full sour coming in second and the half sour the odd pickle out.

From there the quest was Katz's Deli. We started walking out there and what just happened to be in the way? A rather famous cupcake place that makes most of their stuff vegan/gluten free/artificial sugar free. Babycakes! We split the Red Velvet cake a little later at a Starbucks. 

More than anything, I got the strong flavor of coconut. There's delicious sweetness with a slightly gritty texture. Not a favorite, but certainly something awesome to happen upon. 

From there we kept walking and were at the famous deli in no time. The walls are covered in pictures of every celebrity. The counter has like 6 stations to order at. I went to all of the wrong ones before I made it to the right one. I attempted to order 1/8 lb of both Pastrami and Corned Beef. The guy quickly cut up a 1/3 lb off Pastrami and asked "good?" At nearly $30/lb it wasn't that good. I took the pastrami and didn't get to try it's non-smoked companion. That said... oh my god was it delicious. So tender, loaded with flavor, piping hot... just incredible.


Some strolling around Chinatown, gawking at knockoff purses on canal street, and some other seeing of sights and it was lunchtime. I can't say I was exactly hungry, so good thing there was an hour long wait to order and a nice park to stand in for the wait. The place is Shake Shack. Something of a burger legend and I got to try it. 

Double Shake Burger. Shroom Burger (Not mine, still amazing though). Cheese Fries. Fair Shake (Not very good).

A little bit of hamburger heaven. Thick and juicy. Fantastic bun. Wonderful flavor. Easily bests its National Chain rivals.

Cheese fries with a tasty little american and cheddar blend on them.

At this point it becomes a solo adventure and I head over to Eatily. This is Mario Batale's grocery store filled with everything delicious and expensive. I wondered around for probably an hour just looking at the deli - with 8 different types of proscuitto, the meat department - with Pat LaFrieda cuts, the vegetable department - with CRAZY things like white eggplant, and the vinegar zone - with the most expensive vinegar EVER. 


The bottle is 3.4 oz. 
I then stumbled upon a cool little collection of street vendors. With no room for real food, I did the next best thing... dessert. I walked up to the guy with a big block of ice and he turned it into shave ice. Too bad it wasn't very good. 


Some time shopping, some time moving, some time sitting, and it was time to head out for dinner. The spot was a strange place at the end of a subway line in Flushing, NY. It was, humorously enough, a mall food court - the Flushing Mall Food Court. A mall food court where no one spoke english, we were cut in line constantly, vegetarian food was extremely rare, and when it was found... we weren't quite sure it was actually vegetarian. I got the special form a place that I just learned was named Lanzhou Noodle. I thought the place was actually just called hand pulled noodles. Anyways, it had good fresh noodles, some cut of beef, a pork rib, and a fried egg in it. I later had some mediocre scallion pancake and deep fried pumpkin cake in a second attempt to find vegetarian food. Finished it off with a crazy ice cream crepe type thing. All very fun, but it was time to leave. 


And there you have it, a day of gluttony in NYC.

Wednesday, May 25, 2011

5 Star Spicy Sushi Challenge

I meant to post this quite a long time ago, but I misplaced a memory card for quite a while.

First things first, Lacey Koibito is where the best sushi in the Olympia area is found. The Olympia and Tumwater Koibitos are not to be trusted.

They recently started a one day a week habanero pepper roll challenge. 6 dudes rose to the occasion and crushed the aforementioned challenge. As a bonus we received a free roll, nice T shirt, and 10% off for life (when wearing the shirt).

This was our opponent.

A spicy tuna roll topped with habaneros, jalapenos, and some other pepper in a sauce that seemed to be mostly Sriracha. 
All 6 of us finished within 5 minutes. While it was spicy, it was bested with relative ease.

The blank board in the back now has all our pictures on it. 
I also took one pretty picture. 

All the sushi lined up on the counter, ready to be served

Sunday, May 15, 2011

The Pub Burger

I didn't post anything about it yet, but I made burgers two weeks ago. It was my first foray into the burger making world. I didn't want to half ass it, so I didn't start until I had my own meat grinder. I previously made burgers in the style of an In and Out Double Double Animal Style. This time I tried the recent Cook's Illustrated Pub Burger. I documented the process quite well, so pictures before the recipe. 

Chopped Sirloin
Ready to grind
Grinding begins.
Freshly ground beef
Butter the beef
1/2 lb Patties 
Grilling - in a cast iron pan on the grill
2 min per side
5 min in the oven
The treasure
Inside
The Pub Burger
Makes 2 burgers

Ingredients

2 good hamburger buns 
1 lb petit sirloin 
2 tbsp butter
6 strips peppered bacon
2 oz good cheese (I used beechers flagship)
1 tbsp vegetable oil
salt
pepper
Pub Style Burger Sauce
     3/4 cup mayo
     2 tbsp soy sauce
     1 tbsp worcestire sauce
     1 tbsp brown sugar
     1 tbsp chopped chives
     1 tsp ground pepper
     1 clove garlic, minced

Directions

Cut the meat into 1/2 inch cubes trimming away large chunks of fat.

Lay out the chopped meat and place in freezer until slightly hard but not totally frozen.  About 40 minutes.

Also put the kitchen aid attachment in the freezer for at least 15 minutes.

Grind away using the coarse option.  Melt the buter in the mean time.

Spread out the ground beef and drizzle the butter throughout, add some pepper as well. 

Form into 2 meatballs and press out patties from there. Be careful to not overwork the meat.

If you aren't ready to eat, the patties can be stored for no more than a day.

Whip up the sauce (literally, just combine everything), make the bacon, and grate the cheese)

Preheat your over for 300.

Put the oil in the pan and kick the heat up to high. Season both sides of the burger with healthy amounts of salt and pepper while you wait for the oil to be just smoking.

Cook the burgers for 2 minutes without moving it. Flip and then cook on the other side for another 2 minutes.

Now, take the burger and put it on a baking sheet. Add the cheese and stick it in the oven for 5 minutes.

Take it out and let it rest for 5 minutes*. 

Add the sauce and bacon to the bun while you wait. 

Dish it up.

Sadly I trusted my shitty thermometer and not the recipe... I left it in the oven for a little longer and it ended up a bit, but not badly, overcooked. 

I have one more shot at making it medium rare and will post another picture if I do.

Still, so juicy and full of flavor. A true champ of a burger.

* After being very precise with 5 minutes of baking the second time around, the burger come out slightly pink and closer to the upper side of medium than medium rare... those seeking a medium rare burger should put it in for only 3 minutes. 6 will get you medium well. 

Wednesday, May 11, 2011

Mexican Pizza

The decision for the night was pizza.

The aisles of Trader Joe's were being wondered.

The memory hits me... there's delicious organic chorizo in the freezer that I got from Olympia Local Foods, I believe it was specifically from Flying Dog Farms out in Grapeview, WA. (Note, this is probably the second product I've ever had from Grapeview, the first is obviously this.)

Yes my friends, mexican pizza time. Not mexican pizza that looks like this though.


No quero Taco Bell.

Ingredients:

Trader Joe's wheat pizza dough.
Just Chili California Hot Sauce instead of pizza sauce.
Ranchero Cheese
Chorizo
Jalapenos
Tomatoes
Cilantro

I threw out the crust first.
Broiled for 10 or so minutes.
Added the sauce, cheese, jalapenos, and chorizo.
Broiled for 10 or so minutes.
Added chopped tomatoes and cilantro.

It was ready.  Behold this spicy treat.

Monday, May 9, 2011

RhuBARbs

Before today I couldn't tell you exactly what rhubarb tasted like.

I've had strawberry rhubarb pie many times... but the flavor doesn't stand out enough that you can totally pick apart what rhubarb tastes like. Now, as the first sentence implies, things have changed. I've had raw rhubarb, rhubarb compote, and delicious rhubarb bars.

It all started one day ago at the Nicolai household where fresh rhubarb was cut. More detail on that adventure can be found on the Nicolai blog.

The many stalks waited in the fridge overnight and then I swooped in with a delicious sounding recipe to make their unique taste mine. Rhubarb bars. RhuBARbs.

RhuBARbs
Makes a 9x13 inch pan full

Crust:

12 tbsp cold unsalted butter, cubed
2 cups flour
2/3 cup granulated sugar
Zest of 1 lemon

Filling:

1 3/4 cup rhubarb compote
1/4 cup lemon juice (just happened to be all the juice from the zested lemon)
1/2 cup sugar
5 eggs
2 tbsp cornstarch

Compote:

4 cups rhubarb, sliced in 1/4 to 1/2 inch slices
3/4 cup sugar

Directions:

Make the compote! (Mix sugar and chopped rhubarb in a pan over medium heat. Simmer for about 10 minutes or until you can smoosh out all the rhubarb chunks. Blend it into a puree.)

Make the crust! (Toss all the ingredients into a blender and pulse until the mixture is down to large crumbs. Press it into a greased 9x13 pan and stick it in the fridge/freezer for 15 minutes. Also, kick the oven onto 350.)

Bake the crust! (20-25 minutes @ 350 and in the meantime...)

Make the filling! (Mix everything up. Whisk it hard. I still had some disconcerting chunks of cornstarch so I ran it through a pasta strainer)

Add the filling to the now slightly browned crust! (Turn the oven down to 325 (I forgot to do this and it still turned out awesome) and bake for about 25 minutes so the filling is set.

Remove it from the oven, let it cool, chop into pieces and hit it with some powdered sugar.

Truth.

Sunday, May 8, 2011

Portoborzo Stuffed Bell Peppers

Question: When did bell peppers become the most expensive groceries... well, pine nuts excluded?

I still don't have the answer, but I realized this was a problem about 40 minutes after I decided I wanted to make stuffed peppers and went to the grocery store. $3 each. Craziness. Those things are worth approximately 99 cents to me.

Seeing the outrageous price I decided I would stuff portobello mushrooms instead. Turns out there really isn't enough of a cavity to stuff things into a portobello mushroom. So, I chopped up the mushrooms and now had a bunch of undercooked orzo and uncooked mushrooms in a red sauce. My hand had been forced. I had no choice... back to the store for some overpriced peppers.

All said and done with bitterness about having to buy pricey peppers aside, these suckers are tasty. And quite healthy too. Bonus.

Recipe modified from here.

Portoborzo (Portobello + Orzo) Stuffed Bell Peppers
Serves 6

1 28-oz can whole Italian Tomatoes
3 portobello mushrooms, chopped
2 tbsp dried oregano
1/2 cup fresh grated parmesan plus extra for topping
1/2 cup extra virgin olive oil
6 garlic cloves, minced
1 tsp salt
1 tsp pepper
4 cups low sodium vegetable broth
1 cup orzo
6 bell peppers of your desired color
chopped basil and parsley

Kick that oven on to 400 and start to heat the vegetable broth up to a boil.

Take the tomatoes out of the can (use the sauce as well) and break them up with your hands. You can squish them through your fingers to break them... it's fun. Now add the oregano, cheese, olive oil, garlic, salt, and pepper.

Now the vegetable broth should be boiling. Add the orzo and cook for 3 minutes (this won't cook it all the way). Drain the orzo so that the broth is poured into the baking pan and not wasted. Add the orzo to the tomato-mushroom mix.

Cut the tops off the peppers and remove all the ribs and seeds. Take a small little slice off the bottom so that they can stand up. Load the peppers up, put them in the broth filled dish, cover with foil and bake for 45 minutes. Remove the foil, sprinkle cheese over the top, and cook for another 15 minutes or so.

Touch it up with a little parsley and basil to make it pretty.


Monday, April 25, 2011

Panko Parm Halibut Cheeks

As if I needed another reason to adore Olympia Seafood Company, they provided me with a huge one last week. I stopped in to grab something to cook up for dinner and something stood out in a big way. Halibut Cheeks, fresh that day. After making that selection I got 8 of them (3/4 lb) and the man helping me (I believe he owns the place) got really excited as they were going to be his dinner as well. Having never cooked Halibut Cheeks before I asked what his plan was. Excitedly, he told about how the guy at the restaurant next door (I have to imagine he was talking about Dockside Bistro). Breaded with a mixture of panko and parmesan, egg white wash, a bit of salt and pepper, pan fried, dip it in a red sauce. I was sold. Literally on the cheeks, figuratively on the recipe. To make things easy for me, he even offered a handful of panko so I wouldn't have to put any unnecessary time between me and dinner. I had some though and happily declined. I drove home and whipped up this choice meal.

Panko Parm Halibut Cheeks

8 med size halibut cheeks
1/2 cup freshly grated parmesan
1/2 cup panko
3 egg whites
salt
pepper
ghee or vegetable oil
your favorite red pasta sauce... or make your own

The Cheeks:

Super Easy!

Mix the parm and panko in a blender. Blend. Put on plate thats larger than the biggest cheek.

Hit both sides of the raw cheeks with salt and pepper (I rolled them in it, which was a little excessive)

Dip a cheek in the egg whites.

Bread it in the panko and parm mixture. Don't be afraid to press a little bit on to make sure it sticks.

Repeat with each cheek.


The sauce:

I mixed a can of organic tomato sauce with all the available herbs from the garden. Those were...

Greek oregano
Chives
Silver thyme
Parsley
Rosemary


I didn't feel like chopping, so I blended them and added it to the sauce with about 3 tbsp of balsamic vinegar.

Cooking:

I used about a tbsp of ghee for each batch of 4 cheeks. Burner on medium-high in a nonstick pan. Approximately 3 minutes on each side.

Bring the sauce to a boil.

Serve.

Love.

Mango Habanero Chicken Burgers

Computers were dying and memory cards were disappearing, but delicious things were certainly being cooked. Specifically, fiery and fruity yet healthy chicken burgers.

The recipe was pulled from here, but changed in one notable way... adding habaneros to really add the kick it needs.

1 lb (99% lean) ground chicken
1/4 cup greek yogurt
1 freshly chopped mango, chopped
1/3 cup cilantro, chopped
1/3 cup red onion, chopped
1 jalapeno, chopped
2 tsp jerk seasoning
2 cloves garlic, chopped
3 habaneros, chopped
Zest of 1 lime

It's all quite simple. Mix everything except the chicken together.


Now fold the chicken in with the mixture being careful to not over mix it (thus making the chicken tough). Form into 4 normal sized burgers or 3 gigantic burgers (not the best idea).

Additionally, cooking them is quite easy. Do it in a pan. Do it with butter or vegetable oil.

Serve it with some normal burger toppings. It is phenomenal with an excellent kick. Freeze extras if you please. I haven't dethawed my extra, but the original recipe says they are fantastic on the reheat.

Friday, April 15, 2011

Van's Burgers Returns

There is not a lot on my calendar these days. The one thing that had been there for quite a long time, however, was the reopening of Van's Burgers. Van's Burgers is a number of things that I will describe below.

1. Open for only half the year. They open in April and close in October. 

2. Only open 3 days a week (Thursday-Saturday). They recently expanded their hours to be open from 11-7. It used to be 2.5 hours for lunch and 2.5 for dinner.

3.  A box shaped cart that's no bigger than my parents' tool shed in the middle of nowhere (in between a farm and a golf course).

4. A drive through in which you can expect to spend a significant amount of time in line.

5. Without question, the best fast food style burger in the Olympia area. Probably the best in all of Washington. 

I arrived on opening day at a few minutes after 2 P.M. While I wasn't naive enough to believe that there would be no line, I thought the lunch rush would have died down a bit. I pulled in and there were 11 cars in front of me. I stopped at the relatively new Vans Sweet Spot (another cart that you pass by in line on your way up to the burger cart - they've been open since last year, Van's itself has been open for 12 years) and got a peanut butter and hot fudge milkshake. Thick, chocolaty, an filled with real peanut chunks. It was divine. 

40 minutes from my arrival I finally made it up the line and ordered. Their signature Big Pete Double is fantastic and I've had it multiple times. With that in mind I decided to go for the everything... Big Pete with grilled onions, bacon, and a fried egg. The total cost was about $10 and it lived up to all my expectations. I also didn't need dinner. A truly fantastic experience.